Image Resizing, Cropping, Filling and Processing
Resize image
Initially intended to do pre-processing to the input image as to quickly adjust the image composition and fill the canvas with some pixel data, the development quickly escalated into a creative tool and small image processor. Interesting patterns and compositions can be obtained to further pre optimize the diffusion generation process and ie. avoid cropped endresults by providing enough upfront pixel data and image real estate.
Fill backgrounds with a pîcker or automated colour samplers: ‘auto_edge’ for the most occuring colour around the image edges, ‘auto’ for most occuring colour in the whole image.
Save your settings as a custom preset and use the sequencer to combine them one after another as a macro script. You can also save these runs as a new preset.
Use ‘debug’ to see the more complicated image algorithms in steps.
Note: Most of the commands are destructive to the original input image so best to save your work before proceeding.
Note: when using the gradio cropping rectangle tool in the ui, make sure you properly update the tool by clicking the tool again after dragging to complete the edit. This is often not properly called in the ui, keeping it in an edit state without committing.
TODO: implement this to run with feedback looping when generating. TODO: implement nested processing using preset sequences within preset sequences
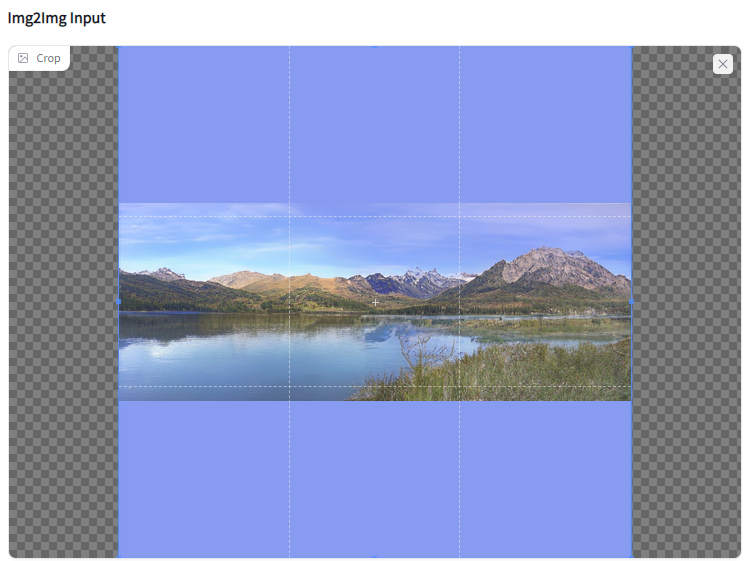
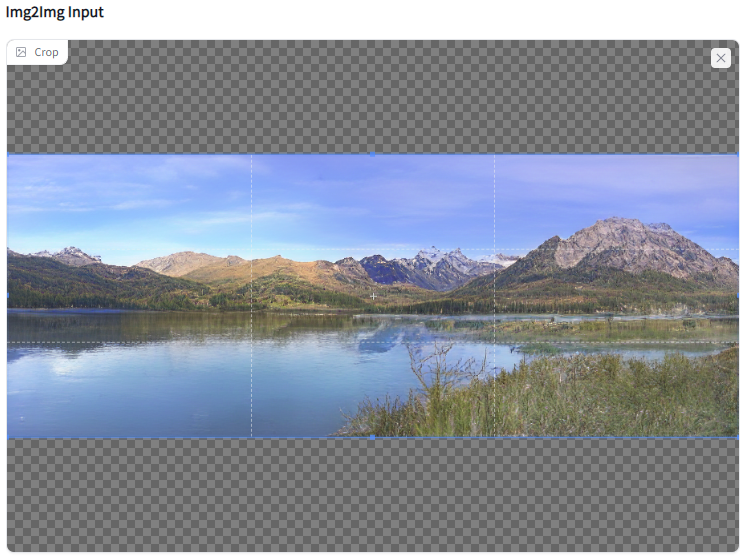
example input image
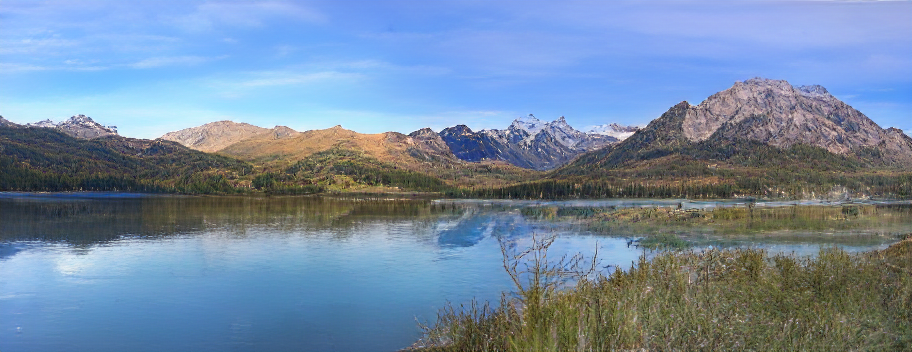 lake_in_the_mountains.png
The current algorithms are:
Dont resize
Don’t do anything to the image provided by the ui, currently used for switching image modes (crop/mask) and useful to quickly store sequence presets. Can be used to just crop the image using the interactive UI, as this passes only the selection.
Stretch
Stretch all four sides of the image to fit the output size resulting in a disproportionate stretch.
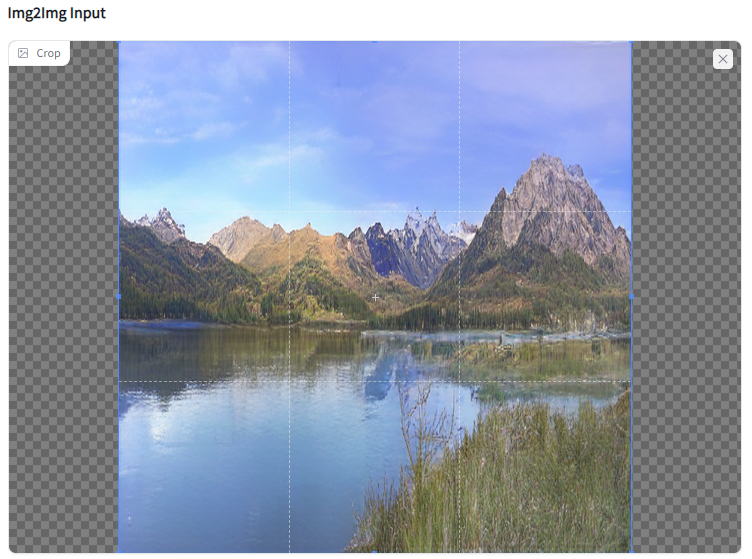
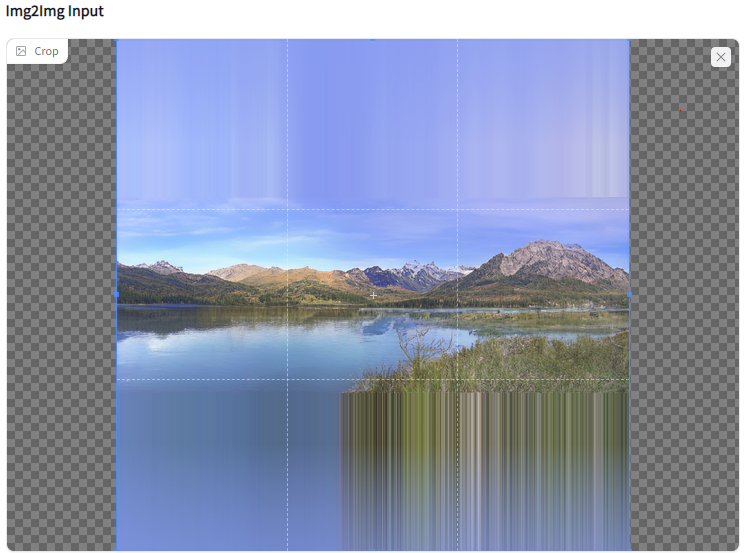
Repeat edges
Resize the content bounds and fill the empty canvas with the stretched pixels of the border, typically the last pixel rows. When using more than a single pixel row, interesting patterns can be created. There is also an option to mask this repeated pattern with a flat background colour to get some more composition options.
Pre-fill content bounding box: Fill the content boundingbox of the image to a rectangle. pre-Shrink faded edges: clip faded edges in alpha to get rid of some premultiply shadows. Fill border size (-1 is auto): uniform size of border to add starting from the outer edges, auto will adjust non uniform border sample size: ideally 1, larger sample values will create stretched patterns BG color: set the color of the background
Resize and fill bg
Fill the background with a flat colour. Repurposes the “Repeat edges” function but doesn’t do the borders and only fills the background.
Pre-fill content bounding box: Fill the content boundingbox of the image to a rectangle. pre-Shrink faded edges: clip x pixels from the faded edges in the alpha to get rid of some premultiply shadows. Fill border size (-1 is auto): should be kept 0 border sample size: should be kept 0 BG color: set the color of the background
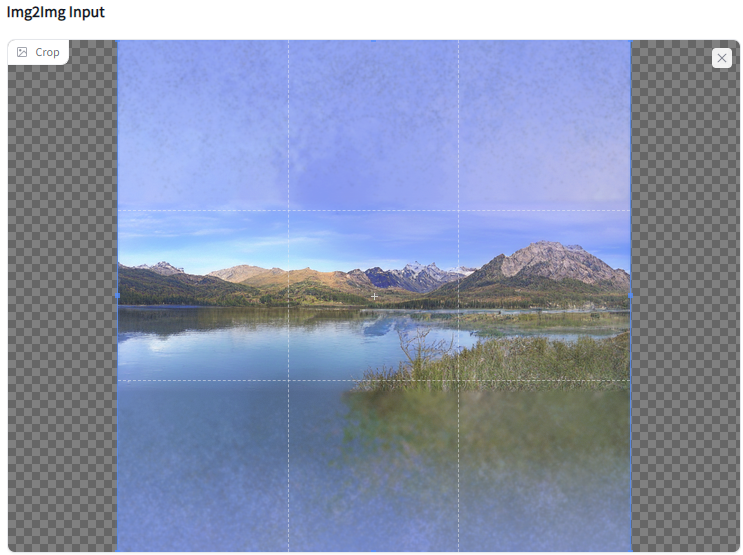
Scatter Fill
This scatters random pixels like mushroom spores over an empty canvas and is based on the border of the input. In a second pass it cultivates and blends these pixels locally into larger clusters that yield in a more complex, artistic, organic fill. When using a border thickness a border is added around the image before the process and compresses the effect within the image frame. The final pixel scatter is then layered behind the input image yielding the effect of a rudimentary abstract uncrop.
BG color: set the background color mask final image with Bg: fade the background to a color Mask blur range (can get slow): blur the mask to create a fade mask brightening multiplier: brighten the mask to enlarge the masking result border thickness, (0 = natural spread): if desired add a border to grow from so the scatter effect grows/interpolates between the content and the canvas use auto border size to content: generate a border based on the distance to the content from all 4 sides. 1/x auto border ratio to content (1 = full): if “use auto border size to content”, then specify a ratio to thicken the border and ‘compress’ the sacttering effect. comp img edge with small fade: organically scatter/mask some pixels so the content border is not so straight, helps to blend the foreground and background initial iterations to scatter: amount of pixel iterations to scatter initially max initial distance from source px: how far those pixels can scatter away from their source optimize iterations: grow clusters by scattering again, but closer than previously. max optimize distance to grow: max distance of the second pass blur bg result before comp: option to blur the background after scattering, useful to get super smooth results, but harder to blend with the foreground. blur result edge on bg: do a small fade with the content to better composite the background with the foreground.
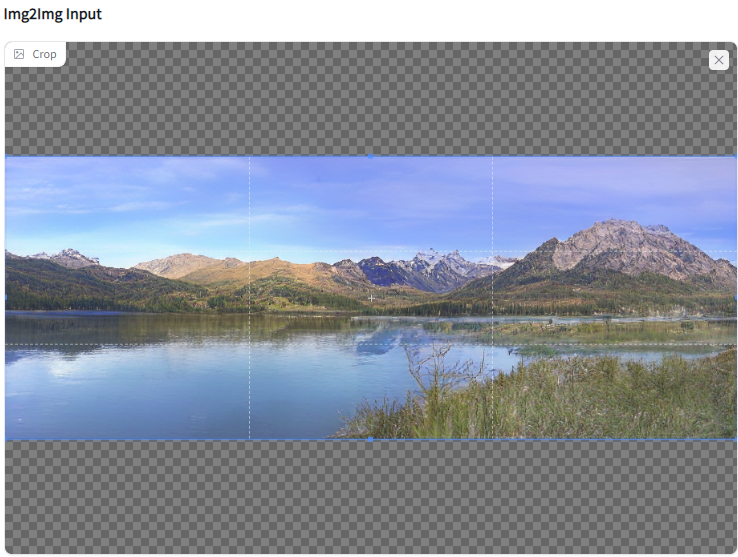
Fill Content Proportionally
Scale the image as to proportionally fill the content to the output size. No part of the image is lost, empty canvas may be added.
Fill Frame Proportionally
Scale the image to fully fill the output frame while keeping the content proportionally. Some parts of the image are usually cropped.
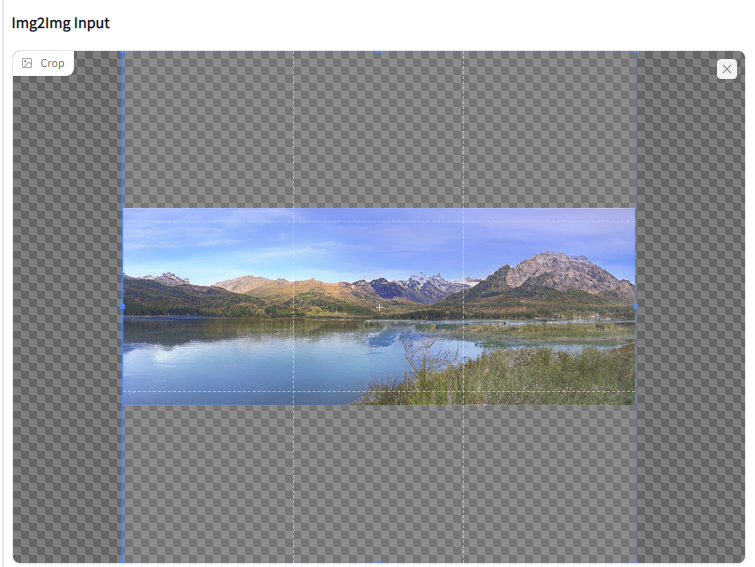
Crop Content
Crop the image to its content bounding box (square/rectangle). Any transparency, 100% black and 100% white borders will get cropped; if any. Note: our example image will just return its own image as there is none of the above.
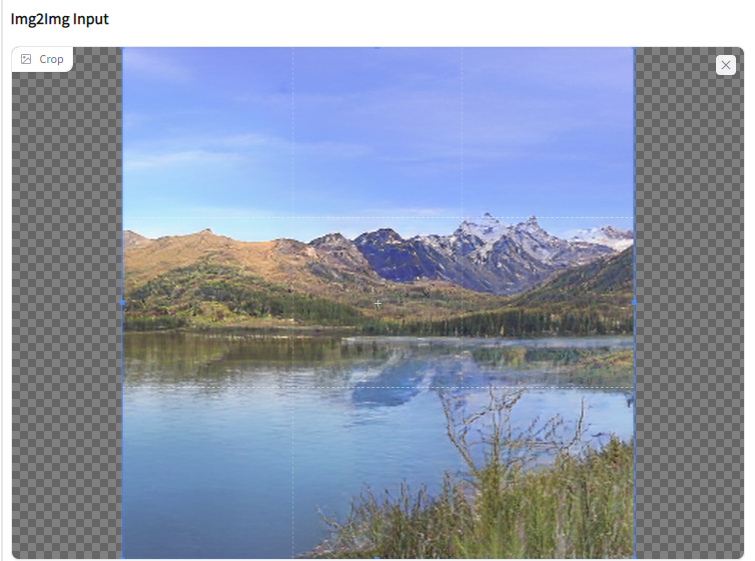
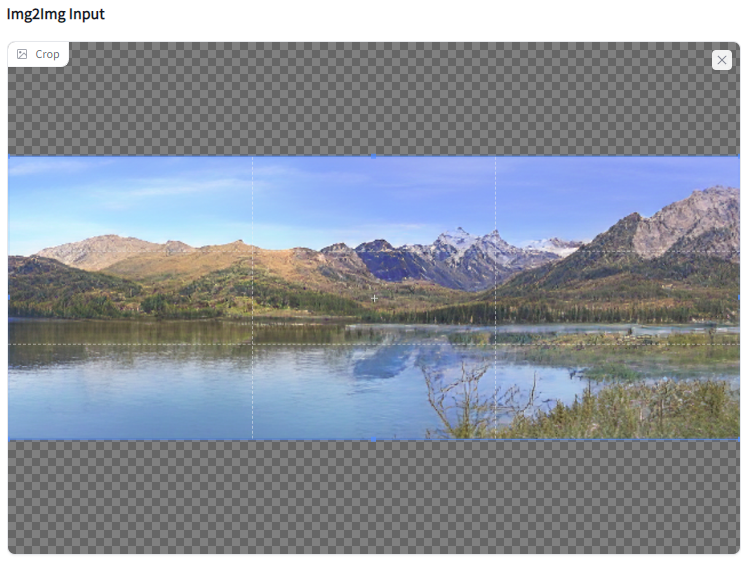
Zoom
Crop inward or outward resulting in a zoom effect. The amount is based on the percentage of the current image size. zoom scaler: positive to zoom in, negative to zoom out
The example below was cropped with the value of 0.3
Tip: Use this with a fill method to creatively zoom outward. Repeating this step in conjunction with diffusion can then be used for an animation sequence.
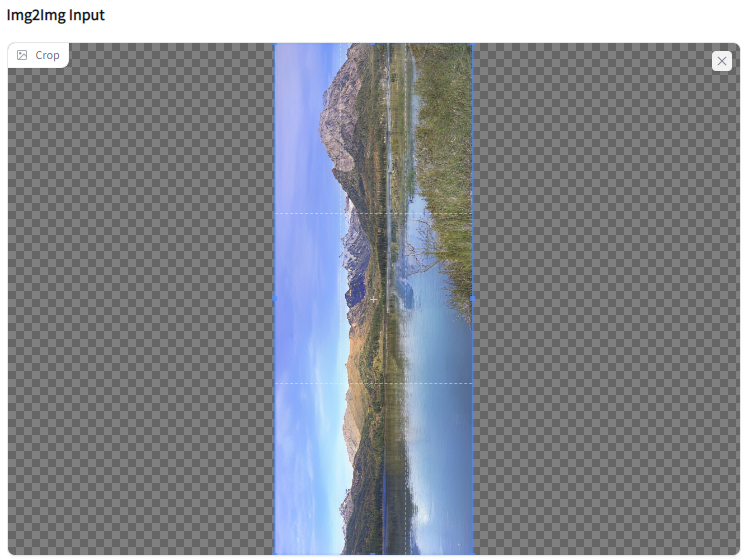
Rotate
Rotate an image by a certain degree and expand the canvas to accommodate the change. rotate degrees: angle to rotate the image with
Enable Editor
The button you press after resizing to get back to the interactive image editor. This button was necessary to get around a gradio bug to update the viewer correctly. Disabling the viewer’s Interactive mode also sped up the processing time and displayed the actual image size nicely.
Save Resize Preset
Store and recall custom resize presets by providing a name (located under advanced). These get stored on disk and are based on the default preset params that are shipped with the code. These are used by the “Resize Preset Sequence” feature.
Resize Preset Sequence
When you find yourself repeating some resize steps it can be useful to use this feature. If checked, ‘resizing’ ignores everything else and uses the sequence provided as a batch processor. It searches your local ‘..\frontend\resize_presets’ folder for .pkl files that match your sequence naming. ‘Default’ is not callable as there is no .pkl, but you can create/save them under a different unique name.
Resize Preset Sequence example
Crop content (cc) => fill content proportionally (fcp) => scatter fill background (scat)
This will first crop any borders or transparency in your image, then fit the content to the output resolution proportionally, and finally fill any background that you have missed with a scatter pattern.
To perform this:
1) Resave the featured defaults or custom presets to disk using unique names (ie. cc fcp scat)
2) tip: load a ‘don’t resize’ default to use as blank sheet (to avoid confusion) and fill out the sequence
3) format the command cc;fcp;scat using ‘;’ then check the checkbox ‘resize using sequence’.
3) tip: save this as a new preset to recall later (ie. scat_seq)
4) run the sequence by hitting the ‘resize’ button
note: you cannot call multiple nested seq presets as of this point.